
“If you are someone who wants to explore react native video apps at the most technical level, or can say in-depth.. I have something amazing for you!”
Where modern technology is all about building connections around the world. This COVID-19 pandemic has raised their hands and involved all kinds of industries into it’s considered boundaries, where they have to rely over the modern technology to stay connected.
Yes! Today the video calling has been proven to be the best in all, whether it’s about meeting with productivity tips or collaboration across the possibilities, it has been encountered as the best in practice ever.
Although, I have crafted content on many SDKs with their pre-built communication features before. But, the main intention of this post is to provide you with the best when it comes to money and time, Of course when you are planning to build your secure video conferencing app especially using the powerful React Native SDKs technology. So, let’s dive and know more!
Table of Contents
Create Your React Native Video App, Best Possible Way!
React Native is one of the most desired programming languages in today’s market, mostly as it’s CLI provides the best possible easiest way to create a new React Native Live video calling app.
If you are planning to create a project for updated iOS platform, then you need to have some of the below pre-installed following packages in addition that involves,
- MirrorFly-react-native-sdk – the main requirement of this application
- redux – needed in terms to maintain application state
- react-redux – react binding required for redux
- redux-persist – this is to keep the application state persistent regardless of reloads
- @react-native-async-storage/async-storage – acts as a storage engine for redux-persist
- redux-logger – a helper tag that will put all the actions in place and store changes in debugger’s console
- redux-saga – a library that maintains a record of applications side effects or bugs
- react-navigation – specifies routing and navigation for React Native video calling app
- react-native-reanimated – specifies the dependency of react-navigation
- react-native-gesture-handler – specifies the dependency of react-navigation
- react-native-screens – specifies the dependency of react-navigation
- final-form – indicates the form state management for React Native
- react-native-incall-manager – handles the media-routes/events/sensors that happens during audio/video chat on React Native
- react-native-flash-message – trolls the flashbar and top notification that alerts the utility
However, all the above are the most necessary attributes/packages that need to be installed to run any application. Now, furthermore let’s have a better understanding of the concept with regards to coding in regular terms with react native technology to build a video calling app.
Core Structure Meant for React Native Video Chat App
When it comes to the structure of the entire application, we will be making use of separate folders for components, sagas, containers, and other parts of the applications. This includes,
- actionCreators – application’s action creators
- components – represent the presentational components
- constants – indicated the name of the action
- containers – refers to container components
- reducers – application’s reducers
- sagas – sagas (video API calls, and calls to SDK, and much more.)
- store – refers to reduce store initialization
- images – indicate the key-value images collections that are used in this application
- QBConfig – object with credentials for MirrorFly SDK initialization
- theme – represents the app-wide styles that includes navigation header styles, color, etc.
How to Create, Install and Live your React Native Video App in Simple Steps?
“Here is a Way –> Whether it’s with React Native Video chat app or any other tech stack – there needs an initial step”
For any application to get started, initialization is one the foremost steps. In order to use the MirrorFly React Native Chat SDK, it must be initialized with the proper application credentials. To proceed with that there is a need for an account – where the user has to register with the Singup option.
Now, once done with this, the user has to create their own MirrorFly application to obtain app credentials. These credentials are required for future reference concerning the application’s sign up process.
In this application, it is necessary to store the credentials in the file as given below,
Application’s Configuration – The Core Process!
“Configure react native to bring your video calling app’s idea into reality”
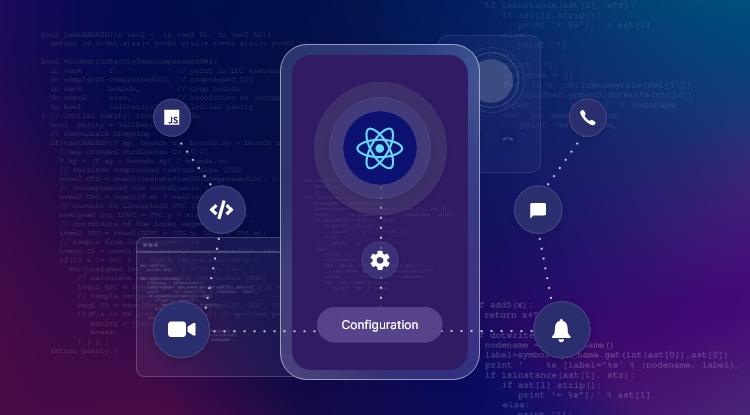

In the development of an application, there are several major steps but among all configuration is the core. Here, it is needed to configure several points to get the app on point. Let’s have a look at them,
- constants – this folder will contain only one file (index.js) that will be exploring the constants that needs to be used in this app
- actionCreators – this is the folder that will have a variety of files for different app parts and one file exporting all action creators
- reducers – this folder will also have a variety of files for different app parts and one file exporting all reducers that combines with AKA root reducer
- sagas – this folder will also have a variety of files for different app parts and one file exporting all application sagas that combines into one saga AKA root saga
- store – this folder contains only one file (index.js) that will be exporting the functions that needs to set-up redux store for application
Once, all the folders have been created for each of the above mentioned items, we can proceed further with the configuration of the entry point at src/index.js,
Before getting started with the app, it is necessary to set-up routing for navigation purposes. Here are the codes below that we need to make into use.
However, there is even a logic behind the screen which decides whether we should make use of StackNavigator or SwitchNavigator. Thus, when the application starts its execution, it will display a route that will automatically have a check for users authentication.
If the user is not authenticated, then the Login screen will be displayed or else it will route the user to the application. But before that we have to check for the network connection if we need to connect with chat to proceed further. If in case there is a WebRTC session, then you can route the user to CallScreen or else to the main screen.
Now, as we have all the setup with us like store, navigation, etc., we can simply go ahead and run the app. Let’s update src/App.js to display the router,
Once the above things are done, the application can make use of MirrorFly React Native SDK for audio/video calls. But in order to use these functionalities, you have to initialize them. So, let’s update the src/App.js and add the SDK initialization when the app starts its execution,
) } }
When the application starts with appStart, the action creator will fire APP_START action, then the saga will be triggered (in src/sagas/app.js) that will initialize the MirrorFly SDK with action payload.
Step 1: Login Form Creation
“Video chat app’s journey begins with user identification”
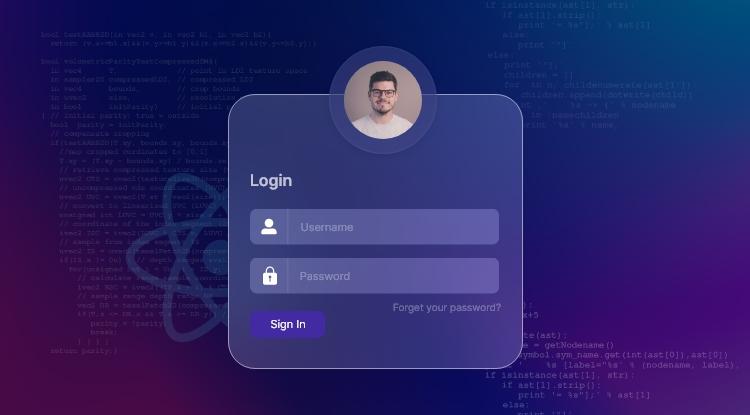

As soon as the user gets into the application, will look out for a login form. Thus, let’s create a component for it,
The above coding validated the login and the username that’s filled in the form. If the login or username does not get validated, then the user will be given a hint on how to correct the current scenario and get validated by the system. Henceforth, once the user gets validated or approved, the sign-in screen will appear.
After a successful sign-in, the “CHAT_CONNECT_AND_SUBSCRIBE” action will be dispatched successfully, which will in turn trigger the connectAndSubscibe saga.
Well now, it’s time to search for the source code of this saga.
First of all Saga checks if there is any user in-store (if the user is authorized). But, if there is no user there, the saga will end its execution. On the other hand, if there is an availability of a user, then the action connectAndSubscribe saga calls the action “isChatConnected” saga. The ConnectAndSubscribe saga then calls the another method action “isConnected” to understand the connection, whether been connected to the chat or not.
Now, the MirrorFly SDK needs to get connected to the chat for audio/video calling as the modules being used here are as signaling transports.
But, if in case the user is not connected to the chat and also the corresponding associated flag in-stored does not indicate the connection right away – then this will initiate the connection to chat.
Moreover, here you need to initialize the WebRTC peer-to-peer module of our MirrorFly React Native SDK as by executing this step you can make use of audio/video calling functionality. Then this will redirect you to the “Users” route.
Recommended Reading
Step 2: Time to Create the User List
“ A react video component that gets you the user list”
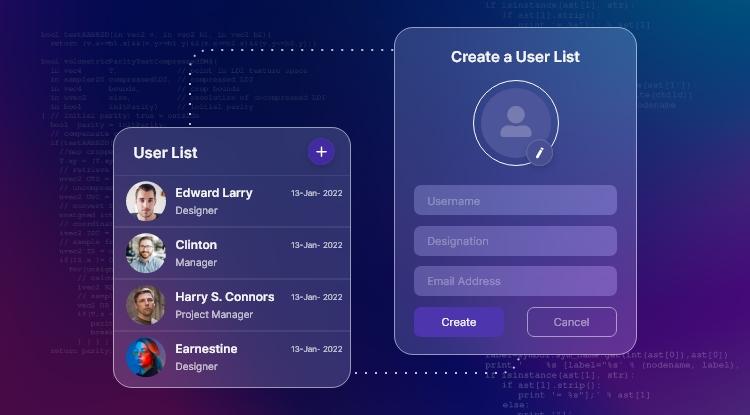

React Native provides a lot of APIs to render the lists. To get these lists we use the FlatList for a chat app using react native technology,
When the components will be mounted, they will dispatch the action that will trigger the users saga that in turn will call MirrorFly SDK to load users,
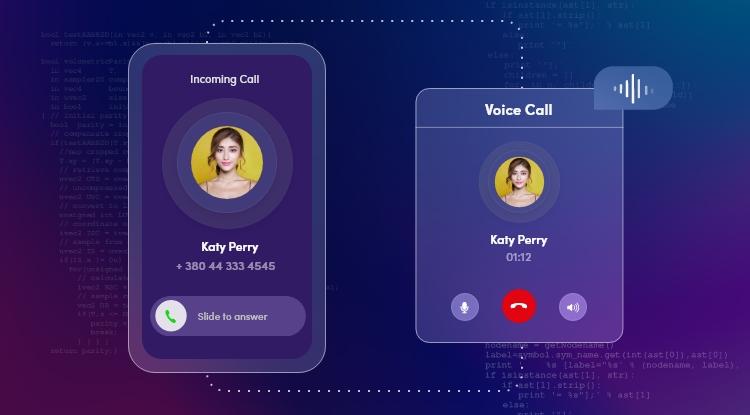
Step 3: Create a Call Screen
“ React native, the ideal that works beyond for a live chat”


This is the screen that organizes the task when the user initiates or receives a call, regardless of being an audio or a video call. For instance, if it’s an audio call, a circle will be displayed for opponents that excludes the current user who is displaying the opponent’s name and peer to peer webrtc video connection status.
And in case of a video call, you may see a WebRTCView from the MirrorFly React Native SDK as below,
Choose the User Want to Connect With, & Initiate a Call
“Everything is possible with react native audio/video call, Lets see how?”
To initiate a call, the first thing that needs to be done is select the user(s) with whom you want to connect via call. Now, it’s up to you as to how to implement the mechanism to choose the user. In the below selection we will focus on how to initiate the call once the user has been selected.
Let’s have this detail with an example, well the entire structure of a video call application will have separate buttons for audio and video calls that are disabled when there are less than 1 or more than 3 chosen users.
Moreover, when this button is pressed the action will be dispatched with opponents-IDs and type of call to start-on. Here below is the Call listening for this particular action,
Once the WebRTC video chat session is created, the user can navigate to a call screen easily and wait for the opponent to respond to your call.
Let’s Listen to MirrorFly SDK events
“Events are the react video call components that speaks via modules”
Normally, MirrorFly sends events from the native code to JS whenever something happens. If you ever thought to receive these events then you should create an emitter from the MirrorFly SDK module. As here not every MirrorFly’s React Native SDK module sends out the events.
To find out whether a module has sent any event or not, then there is a need to check for that module’s EVENT_TYPE property. For instance, the user can have a check on the output of the following code in the React Native app,
As soon as the emitter has been created from the MirrorFly SDK module you can assign an event handler(s) to listen and process the further events. With redux-saga, the user can use the eventChannel action to create a separate channel for events.
To start with reading events from the chatConnection channel and WebRTC video chat app + React Native channel, the user can make use of sagas to create channels by generating login and can close the same with the logout option.
Moreover, if you desire to add any special handler for some specific event(s), the user can either have them in redWebRTCEvents saga or can go ahead by creating their own separate event channel for that specific event(s). Let’s have some understanding with the below,
Actions Generated During A Call Session
“React Native with WebRTC with tutorial can build entire call session”
Whenever the user is planning to make a call, there are only a few possible outcomes like making a call, attending a call, then ending up a call or hanging up. Let’s study this in technical terms,
1) Call Accepted

This is the scenario where the call is received on the application and it’s been accepted as incoming call requests. Now, in technical terms this is possible with the specification of the session ID, here the user needs to accept this session ID in terms to accept the call.
2) Call rejected


This will be the case when the incoming call has not been answered and cutted off. Such cases will be notified to the app by rejecting the session ID as the user wants to reject.
3) Call Hang Up
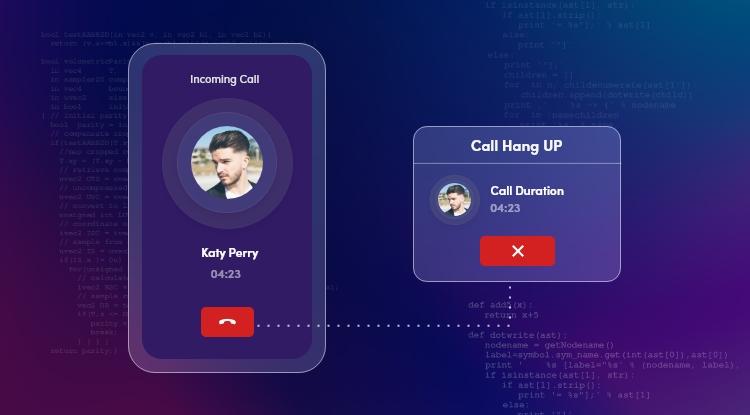

This indicates the end of a call. Here, the app will be notified of the instruction by ending the session ID.
Final Touch
“The end executes the react native video calling app with endless connections”
Once all the above steps have been performed as per the instructions, the user will be able to have a fully functional React Native video chat app. However, CONTUS MirrorFly makes the entire process the most simple and easy one with it’s highly interactive SDKs and guided documentations.
Take Away
Well, the above technical stuff is one that takes place at the backend while building a react native video chat app. These are some of a few core coding steps but there are much more to explore.
If this interests your attention to build your react native chat app, feel free to contact our proficient team of developers for further clarity to proceed
All the Best!
Frequently Asked Questions (FAQs)
How to add videos to React Native with react-native-video?
To add videos to react native with react-native-video components, first we have to import the video components from the library into the place where the video needs to be displayed. Once it’s done you can name these video files for further use.
Can I use WebRTC in React Native?
Yes, of course! With WebRTC being a powerful technology for creating crystal-clear and secure video communication, it can be used with React Native tech stack using the same browser APIs.
How to build a React Native video chat app with MirrorFly?
To build a react native video chat app using MirrorFly you have to follow the below steps:
– Need to start a new project and install the dependencies
– To generate a new project choose the blank template depending upon the device used
– Setup the firebase, the cloud service supported by google to handle authentication and database storage
– Now, create a chat screen with a new directory as components
– Connect the react native chat app with the firebase
– Add the login screen to the chat app and add the functionalities and get it ready
How do I integrate video calling in React Native?
To integrate video calling in a React Native app, follow these steps:
Install navigation dependencies
Add the MirrorFly library for video conferencing.
Install Firebase-related dependencies for user authentication and real-time updates.
Incorporate libraries for call management, push notifications and permissions.
How do you record video on a React app?
To record video in a React app, you need to first obtain the user’s permission. You can achieve this by using libraries for recording. Simply create a function to request permission and initialize a recorder instance for video recording.
How do I play a video on React Native app?
To play a video in a React Native app, you can use the “react-native-video” library. This library is recommended because it provides excellent documentation, is easy to work with, and offers adaptability.
However, to control video playback, you may also want to use the “react-native-media-controls” library, as the “react-native-video” package itself lacks built-in controls for playing and pausing videos.
What video player libraries are available in React Native?
In React Native, there are several video player libraries available. One of the popular options is “React Native Video,” which is a feature-rich video component. It supports various video formats such as MP4, WebM, and Ogg, and provides features like playback controls, full screen mode, and support for subtitles.
How do I preview a video in React Native?
To preview a video in a React Native app, you’ll need to install a video library like “react-native-video.” Import the library, add the video component to your app’s UI, specify the video source (local file or remote URL), style the video component as needed, and optionally implement playback controls and event handling for user interaction.
Related Articles
- 10 Best Live Video Calling APIs In 2023
- 9 Best Web Browser Video Chat for Building Video Apps
- How to Integrate Video Call API into Your Android & iOS Apps?
- How to Build a Live Video Chat App in 2023?
- How to Build a Video Calling App in Flutter?


We are a production company based out of chennai India and we are looking for an react native video chat app. We would like to know more about the pricing and other commercial details from your team.
We looking for a white-label react native video chat software to be integrated with our digital broadcasts platform.
Hi, Currently thinking to develop a react native video call app that will have the ability to make audio/video calls, can you provide me a list of prices? Please reply back to me with some more info. Thanks, Richard
Required to implement video call, screen sharing functionality in one of our client react video chat app. We are interested in licensing your product as part of our offering and would like to know more about your video call solutions.
I am currently developing a react native video app for my business and i want to have the ability to group video call with minimum eight participants and one-to-one options also. Is it easy to customize the behavior of my app. Do you have samples? Kindly get back to me, as I need a solution fast.
Hi, We would like to make a react native video app for a sales team of approximately 30 users. I would like to know the pricing and other features that surround your live video call api. Can we arrange a call this week? Thanks
Hi, I am developing a video chat app using react native for one of my client. I need a video chat support. Can you give me more detail about pricing and React native SDK details how I can test before purchase. Is there any free react native demo project? Thanks, Nethran
Thanks for the blog post I am currently , using ant media react native SDK currently for building my application it is really working well for now.