
Today we came with another information from AWS. In this article we are going to explain how to setup the Amazon S3 with Cloud front as a Content Delivery Network.
What is Cloud front?
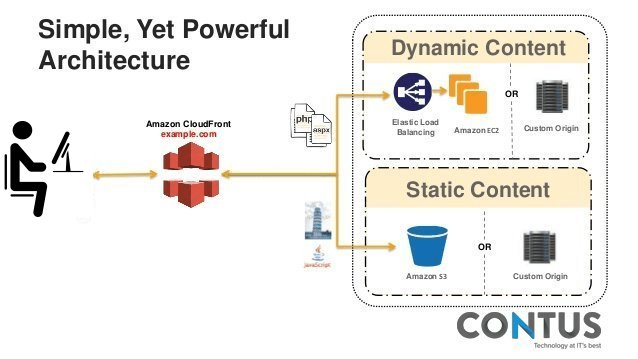
Amazon Cloud front is a server which is used for global content delivery network (CDN).It is used to give businesses an easy way to distribute content to end users with low latency, high data transfer speeds and no minumum commitments and it integrates with other services.


Why we should Cloud front?
If you are running a website with fairly high traffic, one of the things that you will want to do is to migrate your images/videos out of your server and serve them from a Content Delivery Network (CDN). The greatest benefit of a CDN is that it can serve your web content from the location closest to your reader, and thus speed up the loading of your site, reduce your server bandwidth usage and of course rank well in the search engine.

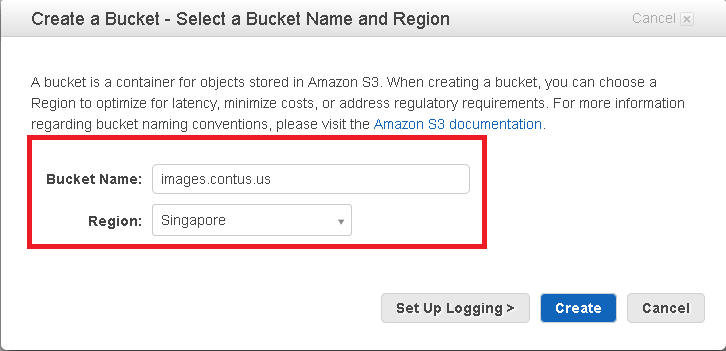
Step 1: Creation of S3 bucket and grant object permission
First we need to create a S3 bucket with the bucket name and region.The region should be close to our region to optimize latency, minimize cost.

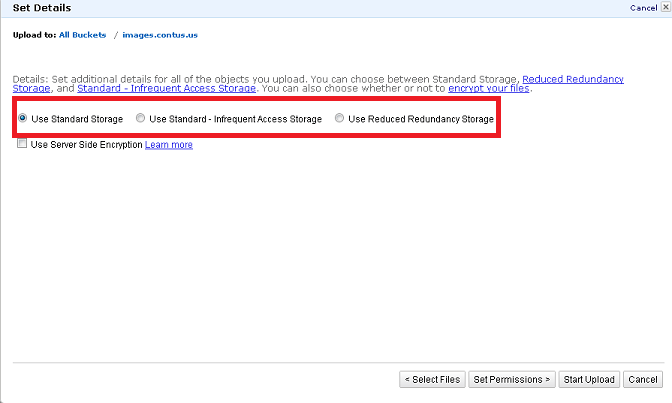
While upload the files to the S3 bucket , we should select the storage options.The screenshot will show that

In the bucket creation process we need to enable the privileges for that object and set permission as Make everything public.So that the object will be accessible from anywhere.
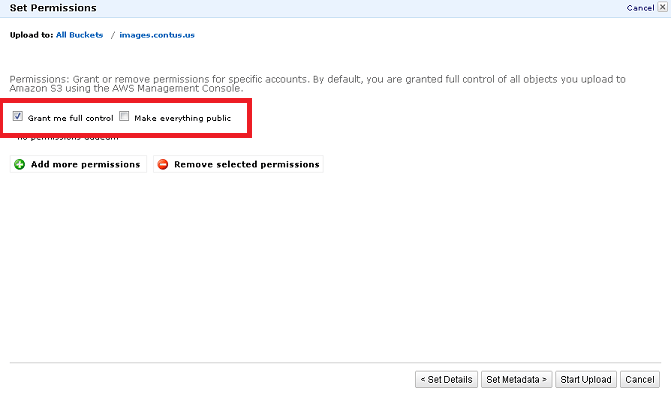

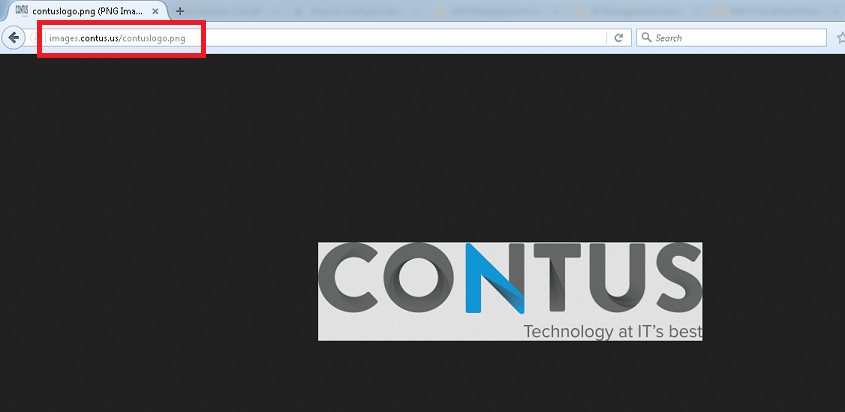
Once we uploaded the files to S3 bucket, then it will convert it into s3 bucket URL.For ex: http://s3.amazonaws.com/images.contus.us/filename
Step 2: Creation of Cloudfront Web Distribution
After that , we need to create a cloudfront distribution.In this progress,first we should select the create distribution

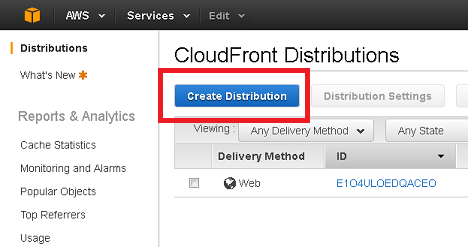
Then select the distribution type.This has two methods to deliver our content.One is Web and another one is RTMP.We are going to use web distribution for our article.Once we select the web distribution, it will ask the Origin settings, Default cache behaviour settings, Distribution settings.
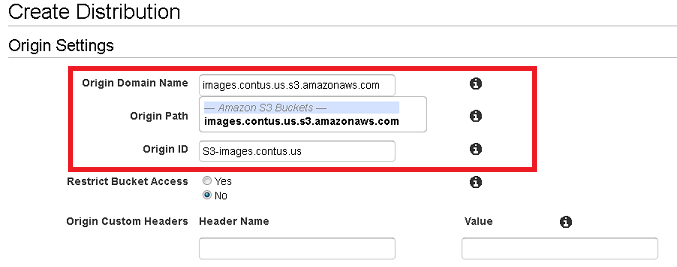
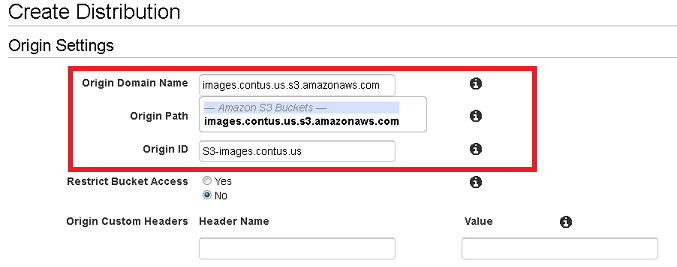
Step 3: Setting up the Origin settings,Default cache behaviour settings, Distribution settings
In origin settings , we should enter our domain name alone all other details will remain the same.
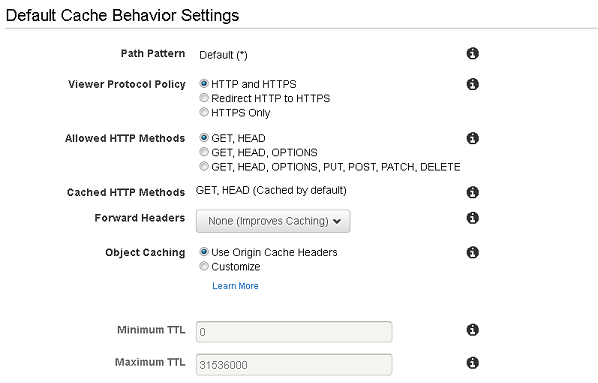
In the default cache behaviour option , we leave the default values

In the distribution settings , we can create the CNAME i.e alternate URL for our content delivery management.
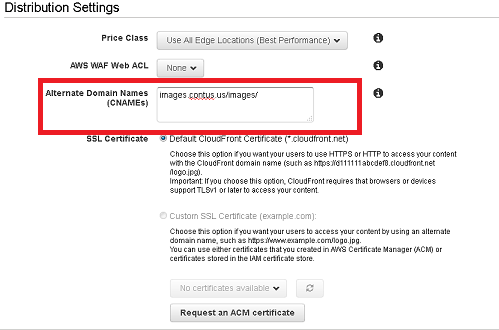

After done the above steps , we replace the CNAME which we got from the hosting provider in cloudfront. The screenshot will tell the clear idea


Leave a Reply